
Artwork File Requirements for Apparel Printing: A Buyer’s Guide
A Chicago-based streetwear brand submitted a 400×400-pixel PNG pulled straight from their Instagram profile for a 50-piece screen-printed hoodie order. The factory’s prepress team couldn’t pull clean color separations from a low-resolution raster file with anti-aliased edges, and the order sat for eight days while the brand’s designer tracked down the original vector file. Artwork file requirements for apparel printing catch more first-time buyers than almost any other step in the sampling process — not because the rules are complicated, but because nobody explains what a factory actually needs until the file bounces back.
Why Web-Ready Logos Don’t Survive Production
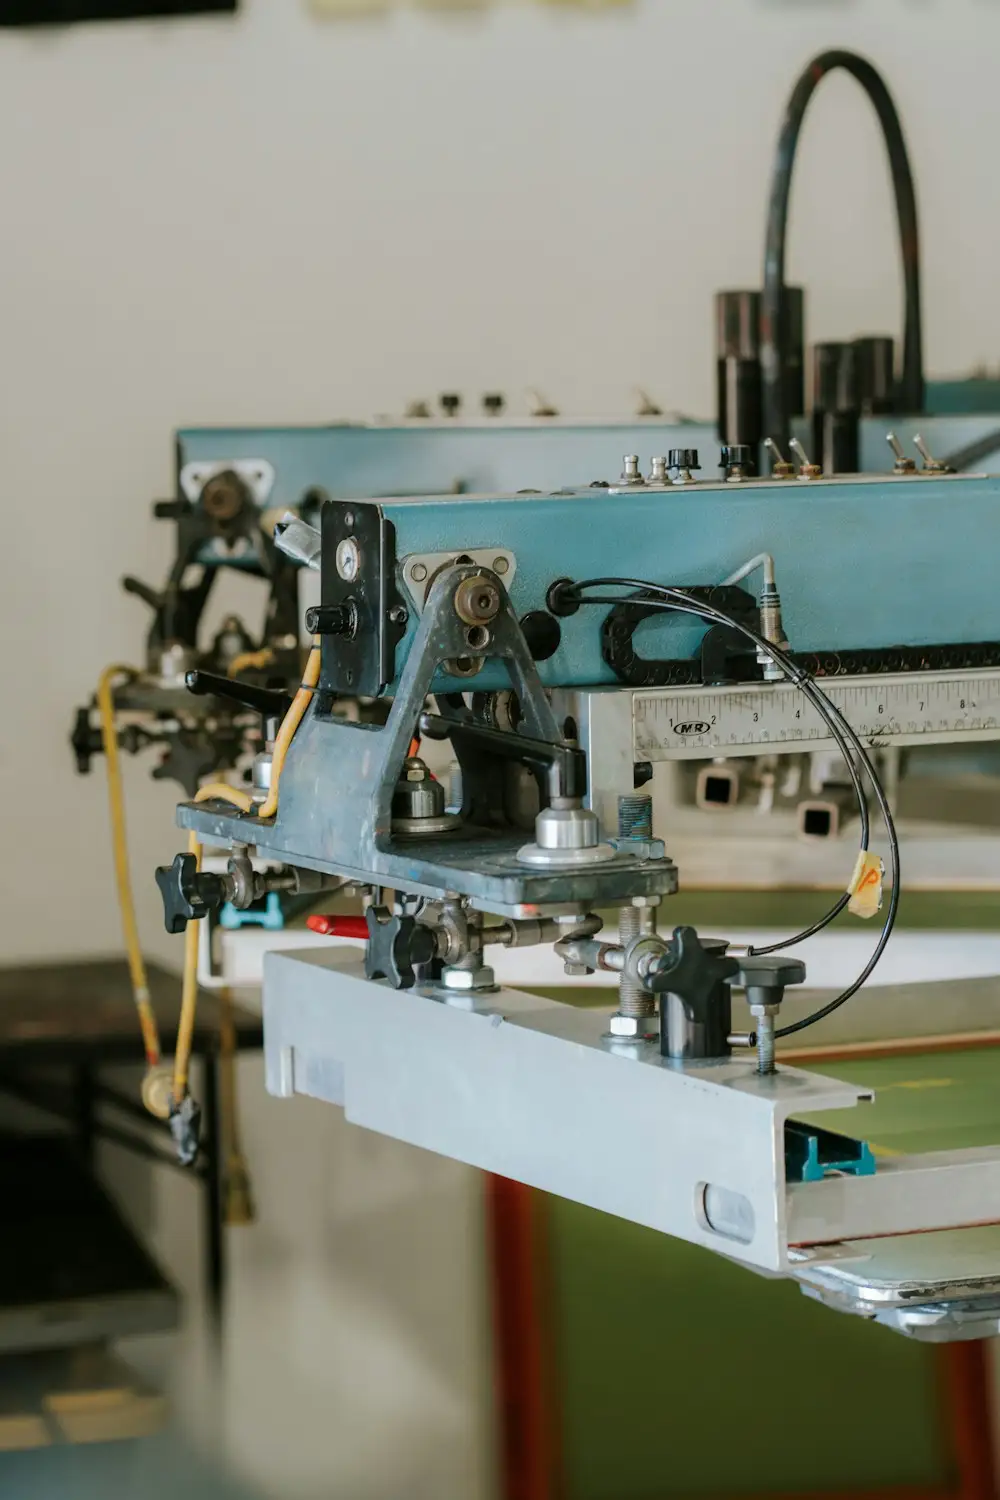
Every print method turns a design file into ink, thread, or dye on fabric through a different physical process, and each process has its own file requirements. Screen printing pushes ink through a mesh screen cut from a color-separated file. Embroidery stitches thread along a digitized path, not an image. DTG and sublimation print pixel by pixel, closer to how a desktop printer works. Heat transfer sits between the two, depending on whether the transfer is vinyl-cut or digitally printed.
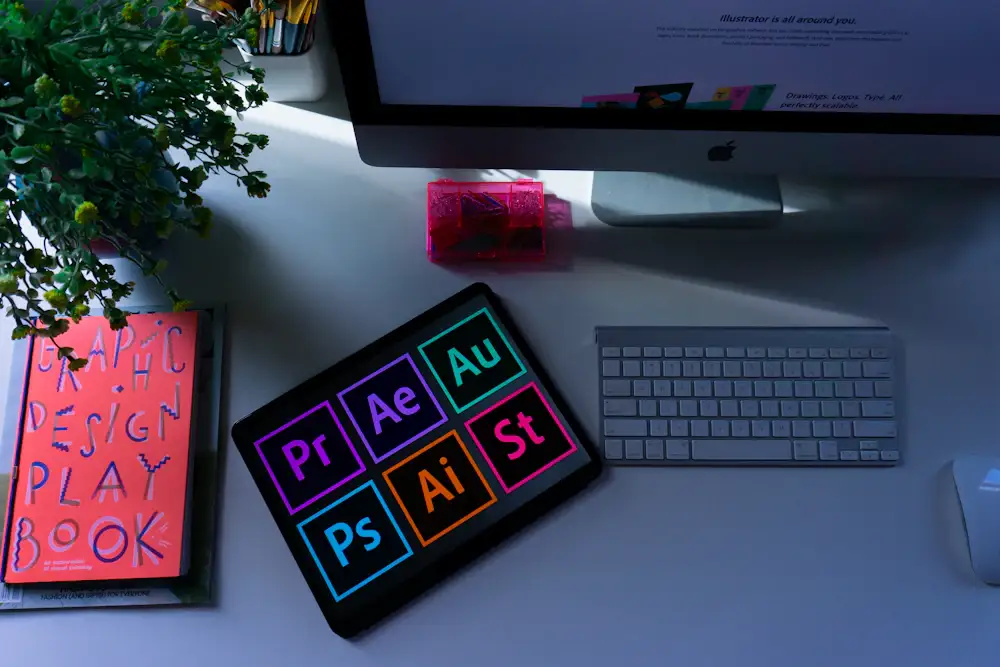
A logo built for a website or a social post is optimized for a screen: 72 DPI, RGB color, often exported as a JPEG or PNG with compression artifacts baked in. None of those specs survive the jump to a physical printing process. A factory that receives a screen-optimized file either rebuilds it from scratch, usually at the brand’s expense, or approximates it, which is how logos end up printed slightly off-color or with blurred edges on the finished garment.
Artwork usually gets submitted alongside a tech pack creation package, not as a standalone file dropped in an email. Getting the file right before that first submission avoids a design back-and-forth that eats into the 12–15 day sample lead time before the garment sampling process even starts.
Artwork File Requirements for Apparel Printing, by Method
Screen Printing: Vector Files and Spot Color Separation
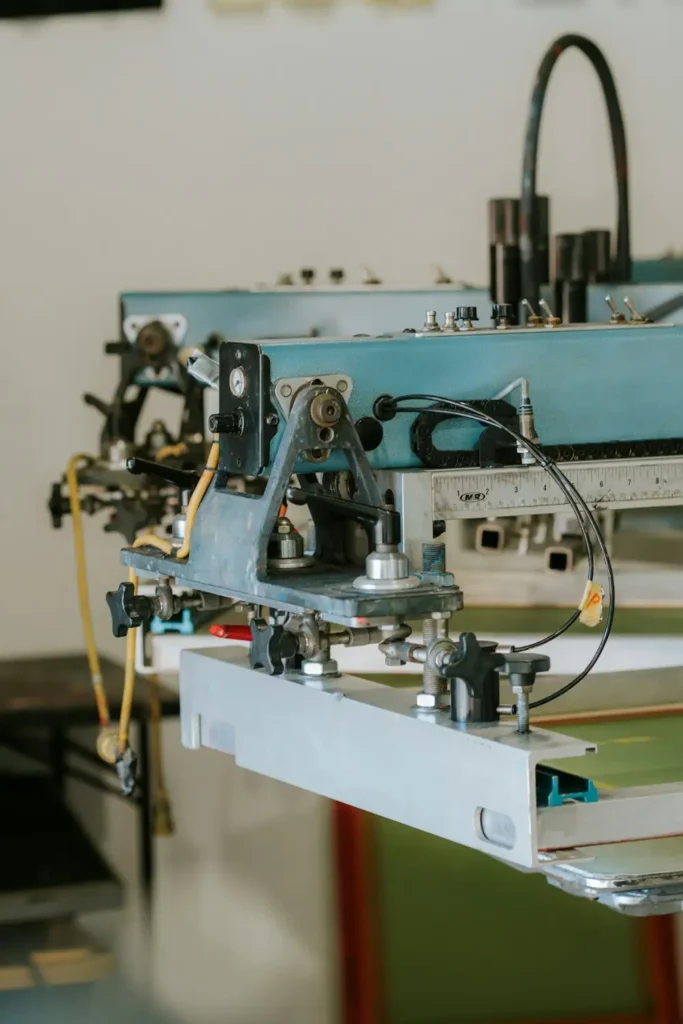
Screen printing needs a vector file — AI, EPS, or a PDF with embedded vector paths, not a flattened raster export. A factory separates the design into individual spot colors and burns one mesh screen per color; a JPEG or PNG doesn’t hold the clean edges a screen needs, and there’s no way to isolate colors from a flattened raster file the way a factory can from labeled vector layers.
Spot colors get matched to Pantone numbers, not RGB values or hex codes pulled from a screen. Fine detail has a practical floor too: line work under roughly 1–1.5mm risks bridging or dropping out once ink hits mesh at that scale. Each additional spot color needs its own screen, which is why screen-print quotes scale with color count rather than landing on a single flat per-unit rate — a 1-color logo and a 6-color design cost differently to set up even at the same 50-piece MOQ.
Screen printing and embroidery get compared on durability and cost often enough that it’s worth checking that comparison directly if the print method itself isn’t decided yet — the file requirements below assume the method is already chosen.
Embroidery: Digitizing Turns Artwork Into a Stitch File
An embroidery machine doesn’t read an AI file or a PNG at all. A digitizer converts the artwork into a stitch file, most commonly DST format (PES or EMB depending on the machine brand), that specifies needle path, stitch type — satin, fill, or running stitch — and total stitch count. The original logo file is a reference for what the finished design should look like, not the file the machine actually runs.
Fine detail behaves differently in thread than in ink. Small text under roughly 5–6mm character height and thin line work that reads cleanly in a printed logo often needs simplifying for embroidery, or it fills in and loses legibility once stitched. Thread color is matched to the nearest standard thread reference, not an exact Pantone or hex match — confirm the thread color chart before running the digitized file, the same way a printed color needs a physical swatch rather than a screenshot.
Digitizing is a one-time setup cost tied to the design file. It’s paid once and reused on reorders of the same logo, not re-billed every time the same design runs again.
DTG and Sublimation (AOP): Resolution and Color Profile
DTG (direct-to-garment) and sublimation printing both build an image pixel by pixel rather than laying down solid spot-color ink, so unlike screen printing, they don’t carry a practical color-count limit — full-color, photographic-quality designs are possible with either method. The file requirement shifts from vector to high-resolution raster: a minimum of 300 DPI at final print size, not 300 DPI at some unrelated dimension. A 4-inch-wide logo at 300 DPI needs roughly 1,200 pixels across; a web logo exported at 72 DPI and the same pixel dimensions prints visibly soft once it’s scaled up to garment size.
Format matters too. DTG files typically come in as PNG with a transparent background so the print sits cleanly on the garment color underneath. Sublimation, which prints across an entire panel for all-over-print designs, works best from a TIFF or maximum-quality JPEG. Submit in CMYK where possible — RGB files get converted at the printer, and saturated colors in particular can shift during that conversion.
Heat Transfer: Vector or Raster, Depending on the Method
Heat transfer isn’t one file requirement — it’s two, depending on which sub-method a factory is quoting. Vinyl-cut transfer, typically used for one or two solid colors, needs a vector file because a cutter follows a cut path rather than reading pixels, the same requirement as screen printing. Digitally printed transfer, used for full-color designs printed onto film or paper before pressing, needs a high-resolution raster file, the same requirement as DTG. Confirm which sub-method is being quoted before assuming which file type to send — the two aren’t interchangeable, and sending a vector file for a digital-print quote (or vice versa) just adds a conversion step.
Where Artwork Submissions Go Wrong
Submitting a web-resolution screenshot instead of the source file. Even a large, clean-looking JPEG downloaded from a website is usually 72–150 DPI at web display size, well under the 300 DPI a print job needs. Ask the brand’s designer for the original working file, not an exported image.
Assuming RGB will match Pantone. A bright RGB blue on a monitor has no fixed physical ink or thread equivalent. Confirm Pantone TCX numbers up front rather than a hex code — the same lab dip approval process logic that applies to fabric dyeing applies to printed and embroidered color: screenshots and hex codes aren’t a matchable standard, a physical reference is.
Assuming file cleanup is free. A factory that accepts a raster logo and redraws it as vector art for screen printing is doing paid work, usually billed as a one-time redraw or vectorization fee. The redrawn version may not exactly replicate the original artwork either — ask to see the vector file before it goes to screen.
Not confirming ink or coating compliance for a specific market. Screen-print ink is classified as a surface coating under U.S. consumer product rules, and total lead content is capped for products intended for children. CPSC’s lead content guidance is worth checking directly if a design is headed toward a children’s or infant line later, even if the current order isn’t in that category.
Submitting a flattened file when separations are needed. A single-layer, flattened PDF slows color separation and raises the odds a color gets merged or missed. Keep spot colors on separate, clearly labeled layers when submitting for screen printing.
Skipping a placement or scale reference. A logo file with no placement grid or reference garment leaves size and position to the factory’s judgment, which is a common source of “the print came out smaller than expected” complaints once the pre-production sample arrives.
Screen Print vs. Embroidery vs. DTG vs. Sublimation vs. Heat Transfer
| Print Method | File Type Needed | Format | Resolution / Color Notes |
|---|---|---|---|
| Screen printing | Vector, spot-color separated | AI, EPS, PDF | Pantone-matched; one screen per color |
| Embroidery | Digitized stitch file (built from your artwork) | DST (PES/EMB by machine) | Thread-color matched; fine detail simplified |
| DTG | High-resolution raster | PNG (transparent) or TIFF | 300 DPI at print size; CMYK preferred |
| Sublimation (AOP) | High-resolution raster | TIFF or max-quality JPEG | 300 DPI at print size; full-color/photographic |
| Heat transfer (vinyl-cut) | Vector | AI, EPS, PDF | Single or few colors; cut path |
| Heat transfer (digital print) | High-resolution raster | PNG or TIFF | 300 DPI; full-color |
Color separation and proofing on the print side follow the same general logic as ISO 12647-1’s process controls for color separation and production prints, even though most apparel factories aren’t formally certified to it — the underlying principle, that spot colors need a fixed physical reference rather than an on-screen approximation, is the same one driving the Pantone requirement above.
How PRP Apparel Handles Artwork Submission
PRP Apparel runs all five methods covered above in-house: sublimation printing (AOP), screen print, heat transfer, embroidery, and DTG. Color separation, digitizing, and thread-color matching happen inside the same factory that cuts and sews the garment, not through a third-party print subcontractor — so a file that needs a redraw or a digitizing pass doesn’t add a coordination delay on top of the correction itself.
The file review happens the same way regardless of order size. A 50-piece first order gets the same artwork check as a 300-piece reorder, since the file requirements above are about the print process, not the piece count. Embroidery’s one-time digitizing fee is tied to the design file and, once built, carries forward to reorders of the same logo without repeating the digitizing step.
Artwork Pre-Submission Checklist
| Item | What to Confirm Before Sending |
|---|---|
| File type | Vector (AI/EPS/PDF) for screen print and vinyl-cut transfer; high-res raster (PNG/TIFF) for DTG, sublimation, and digital-print transfer |
| Resolution | Minimum 300 DPI at final print size for any raster file |
| Color system | Pantone TCX/spot color numbers, not hex codes or RGB screenshots |
| Layers | Spot colors on separate, labeled layers for screen printing |
| Placement | A placement grid or reference garment showing size and position |
| Thread matching | Confirmed thread color chart reference for embroidery, separate from the printed Pantone number |
Frequently Asked Questions
What file format do I need for screen printing artwork?
Vector files only — AI, EPS, or a PDF with embedded vector paths, not a flattened raster export. Screen printing separates each spot color into its own mesh screen, and a factory can’t cut a clean screen from a JPEG or PNG. If the only file available is a raster logo, budget extra time, and often a redraw fee, for it to be rebuilt as vector art before sampling starts.
Can I use a PNG or JPEG for embroidery digitizing?
Yes, but only as a reference image, not the working file. Embroidery machines run on digitized stitch files, commonly DST, which a digitizer builds by tracing the artwork and assigning stitch type, direction, and thread color. The PNG or JPEG just shows what the finished design should look like. Expect a one-time digitizing fee the first time a design runs, reused on reorders of the same logo.
What resolution do I need for DTG or sublimation printing?
A minimum of 300 DPI at the final print size, not just a large pixel dimension at an unrelated size. A 4-inch logo at 300 DPI needs roughly 1,200 pixels across. Web graphics are typically exported at 72 DPI, which prints visibly soft or pixelated once scaled up to garment size.
Do I need separate files for each print color in screen printing?
Not separate files, but separate, correctly labeled layers within one vector file. A factory’s prepress team separates a multi-layer file into individual screens. A flattened single-layer file with no distinguishable spot colors slows separation and raises the risk of a color getting merged or missed.
Who pays for a digitizing or file cleanup fee?
The brand, in almost every case. Digitizing an embroidery design or vectorizing a raster logo for screen printing is billed as a one-time setup cost tied to the design file, separate from per-unit garment pricing. Ask about this fee upfront rather than assuming it’s bundled into the sample cost.
What’s the difference between RGB and Pantone spot color for printed apparel?
RGB is a screen-based color system built from light, with no fixed physical ink or thread equivalent. Pantone spot colors, TCX for textiles, are matched against a physical reference swatch, which is why factories ask for a Pantone number rather than a hex code or an on-screen color pick before running a print or embroidery sample.
To confirm file requirements for a screen print, embroidery, DTG, or sublimation order — and get artwork reviewed before sampling starts — reach out directly via the inquiry form.
Related Reading
- Can You Laser Cut Cotton Fabric? What Actually Happens
- Embroidery vs. Screen Printing
- Tech Pack Creation: The Complete Guide
- Garment Sampling Process
Related Manufacturing Services
Ready to Start Your Clothing Project?
- MOQ from 50 pieces per style
- OEM and private label production
- Sample development support
- Fabric sourcing
- Quality inspection before shipment
- Worldwide shipping support